
Self inking signature stamps are widely used in offices and businesses to sign documents quickly. These stamps contain an internal ink pad that applies ink to the signature plate whenever the stamp is pressed. However, after using the stamp for some time, you may want to change the ink color to suit your requirements.
In certain instances, you may need a different ink color for banking documents, office records, or other business purposes. Therefore, it is important to know whether you can replace the ink color in a self inking signature stamp and how to do it properly.
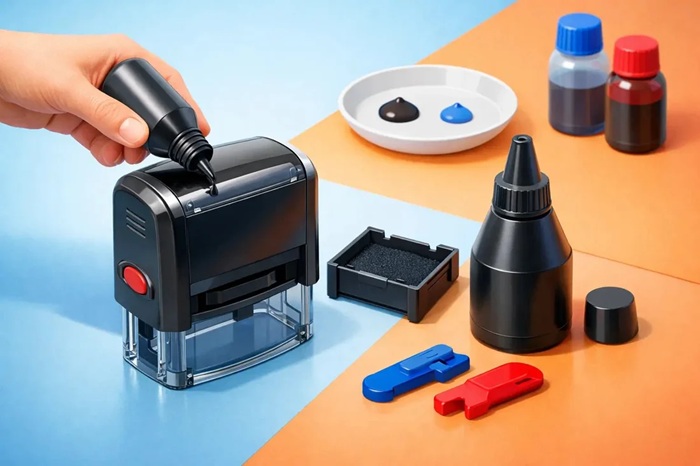
Can You Change the Ink Color in a Self Inking Signature Stamp?
Yes, you can change the ink color in many self inking signature stamps. However, the process depends on the type of stamp and its internal ink pad.
Some Custom Signature Stamp Self Inking models have removable ink pads that can be replaced with pads of a different color. Others allow you to refill the existing pad with compatible stamp ink.
For example, if your stamp currently uses black ink and you want to switch to blue, you may be able to replace the black ink pad with a blue one.
However, you must check whether the stamp model supports this change. Using the wrong ink or an incompatible pad may affect the quality of the signature impression.
How to Replace the Ink Color in a Self Inking Signature Stamp
If your stamp supports an ink pad replacement, you can follow these steps to change the color.
1. Check the Stamp Model
First, check the model of your self inking signature stamp. Different stamp models use different types of ink pads, and not all of them support the same replacement options.
Look for the manufacturer’s instructions to find out whether the ink pad can be removed and replaced.
2. Remove the Existing Ink Pad
Most replaceable ink pads can be removed by pressing the stamp mechanism slightly and securing it in the position specified by the manufacturer.
Once the mechanism is secured, locate the ink pad and release it using the designated tabs or grips.
Do not force the pad out of its position, as this may damage the stamp mechanism.
3. Insert the New Ink Pad
After removing the existing pad, insert a compatible ink pad containing the color you want to use.
Check that the pad fits correctly into the holder. If it is not positioned properly, the signature may appear uneven or incomplete.
4. Test the Signature Impression
Once the new pad is installed, make a few test impressions on scrap paper.
Check whether the signature is clear and whether the ink covers the entire signature area. If the impression appears faint or uneven, check the pad position and compatibility.
After confirming that the stamp works properly, you can use it for your regular documents.
Can You Change the Ink Color Without Replacing the Pad?
In some cases, you may be able to refill the existing ink pad with a different color. However, this method may not produce the expected result.
For example, adding blue ink to a pad that already contains black ink can cause the colors to mix. As a result, the signature may appear darker or different from the intended blue shade.
Therefore, replacing the existing pad with a new pad of the required color is generally the better option when you want a clear color change.
You must also use ink that is compatible with your stamp. Ordinary writing ink or an unsuitable refill may damage the pad or affect the stamp impression.
Conclusion
You can replace the ink color in many self inking signature stamps by changing the existing ink pad or, in some cases, refilling it with compatible ink.
However, the correct method depends on the stamp model and its ink pad design. Replacing the pad is generally a better option when changing from one color to another because it reduces the risk of mixing the old and new inks.
Before making any changes, check the manufacturer’s instructions and use compatible replacement products. This will help you maintain clear signature impressions and keep your self inking stamp working properly.